The Bottom Line
Looking for a high quality outdoor security camera that won’t break the bank?
The Reolink RLC-422W offers 5 megapixel recording, the easy setup of a wireless camera, and IK10 vandal protection and IP66 protection for “jets of water” for under $100 (add $10 for wireless).
Reolink sent me this camera to review, but of course my opinions are my own and the pictures don’t lie.
30,000 FT Review
[/cs_text]
Reolink RLC-422W Review From 30,000 ft
On paper, the RLC-422W outdoor surveillance camera looks pretty snazzy. Here are some key features:
- 5 MP resolution sensor with great clarity and IR LED supported (up to 30 m) night vision
- Completely DIY with no monthly fee
- Adjustable optical zoom that makes it easy to zoom into an area of interest like a driveway and still capture images with clarity
- Dual-band wireless support
- Onboard SD card storage (up to 64 GB)
- iOS, Android, PC, Mac, web browser, and NAS integration
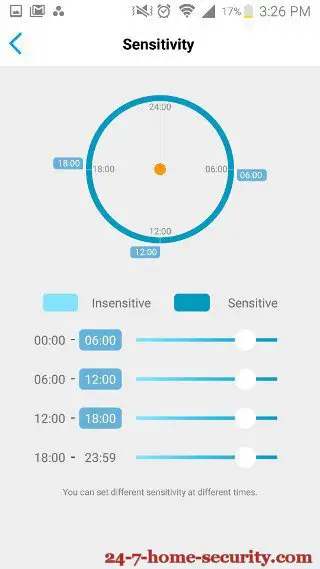
- Adjustable sensitivity and location motion detection
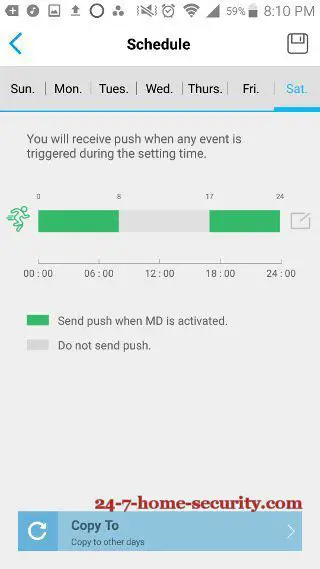
- Push notification alerts or emails with photos or short videos based on your schedule
- A $99 price tag
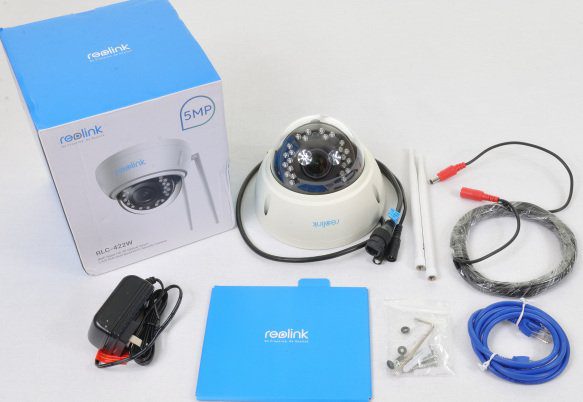
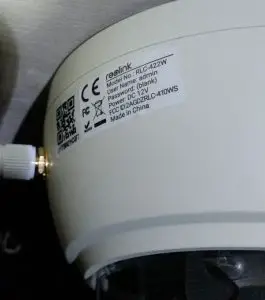
The lens is f=2.7-12 mm Auto-Focus, F=1.6 for any of you camera nerds out there with a coverage of Horizontal: 98°~33°, Vertical: 54°~22°. The main stream of the camera can handle up to 8192 Kbps. It’s rated for -10°C~+55°C (14°F~131°F) with a humidity of 10%~90%.
What’s the Cost?
Maybe you’re thinking there must be a catch. After all, everyone from Nest to Ring has a monthly fee for access to any kind of useful clips stored from your camera, right? I mean, they design cameras without SD card slots and preach the value of “the cloud” while smiling about the recurring revenue from their users after all.
With the Reolink cameras, there’s no such fee. Whether you use your app to directly stream from the camera, have it email you pictures when motion is detected during the times that you set, or record the video onto your home server or a NAS, there is no cost past the original camera purchase. As a person that hates monthly service fees, that’s a big plus.
Reolink Warranty Coverage
As far as the warranty goes, the products are covered for 2 years with the classic limitations for mistreatment. You may have to cover shipping back to China for the cameras. You can check out the details of refunds and replacements here on the Reolink site. Essentially, you can get a refund or a replacement within 30 days and after that, you may have to cover shipping back to Reolink.
Setting Up the Reolink Security Camera
Out of the box, the Reolink camera comes with a quick-start guide that will get you viewing images from your new camera in 5-10 minutes.

To do the initial setup, you’ll connect the camera to your router with a network cable and then complete the setup through the Reolink app.
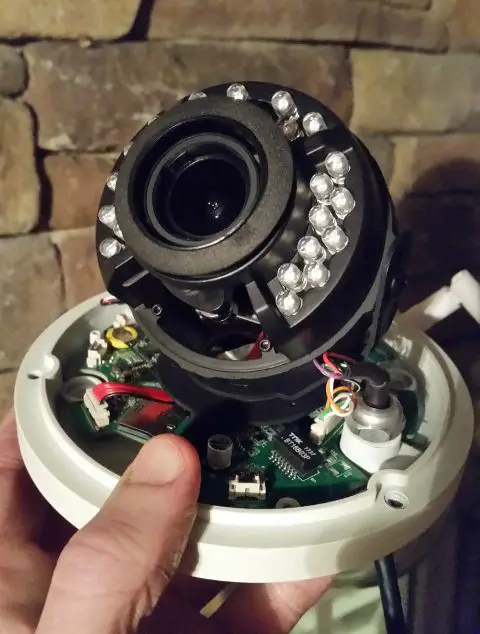
Once that’s done, go ahead and disconnect the camera and test the newly acquired wireless settings. Then, you can plan where you’d like to install the camera. The included mounting template will provide a guide for drilling and mounting the camera. Just be sure to check the coverage of the camera before drilling since the RLC-422 can’t be turned to cover other angles once it’s mounted in place.
Heads up
Be sure to check the angle of the camera before drilling the screws, as it can’t be rotated horizontally to cover another angle. It’s only adjusted vertically.After drilling the holes, you’ll mount the camera with the dome removed (using the provided tool). If you’re planning to install an SD card, be sure to do that before getting the camera up and installed with the dome in place. Yep, I’m speaking from experience . . . .
Power for the camera is supplied with a wall outlet transformer that you’ll recognize from most other electronics. Reolink also provides a power extension cable of about 15 feet to help you get to the nearest outlet. For me, this was plenty to make it to a nearby electrical box where I installed an outlet in my attic in about 10 minutes.
For those that aren’t as comfortable doing minor electrical work yourself, you can try to place the camera near an existing outlet. Hopefully, that’s also somewhere it won’t be easily unplugged by a criminal before he’s captured on camera.
Configuring Your Reolink security camera
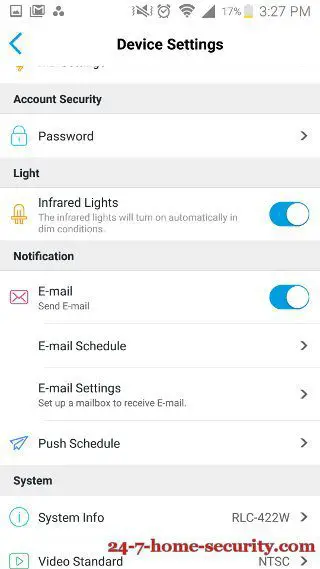
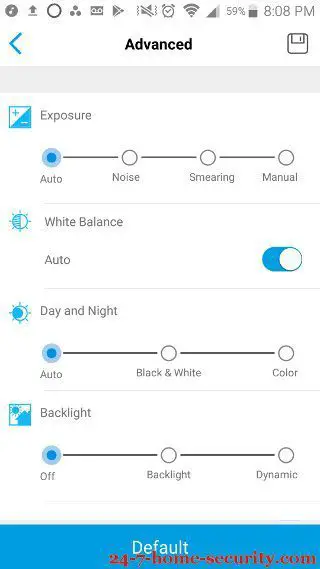
The app itself has a host of features available for you to tweak, with everything from camera stream and quality settings, alerts and notification schedules and schemes, as well as motion detection sensitivity settings that can be different at different times of day.
You can even set up regions for you motion alerts or the Windows or Mac software.
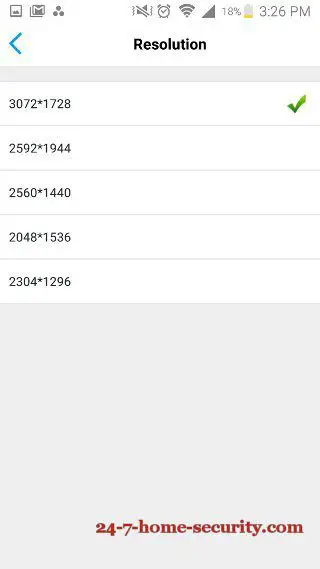
Since I chose to integrate the camera with my Synology NAS, I was able to connect the camera and configure stream resolution and bitrate, how much I wanted to record, how long to keep the data, and motion detection settings within 20 minutes or so using the Surveillance Station app. Since this isn’t a review of that software, I won’t go into more details than that, but if you’re interested and have questions, just drop a line in the comments below.
How’s the Reolink App?
In several weeks of testing, the Reolink Android app has been rock solid. My setting changes happen either immediately or (with some) after a camera reboot. And, push notifications and the live camera stream have been very consistent.
It’s easy to navigate and find settings, and although the requirements aren’t overly complicated, it handles the job well.
Is a wireless security camera the right choice?
You may be wondering, “Is a wireless camera right for me?”. That’s especially true for a camera like the Reolink RLC-422 as opposed to a camera like the Reolink Argus or Netgear Arlo that are battery powered and have truly no wires.
Let me address a couple of points:
- Throughput concerns for a setup with 4-8 cameras streaming to a NAS will load down your network at high resolution. Consider onboard SD card storage in those cases.
- While the data link is wireless, you still have to route power to the camera, so the added effort of running power over ethernet (POE) with a port injector or a POE switch may not be as bad as you originally think.
- On the other hand, being able to just throw a camera up without bothering about using yet another port on my router is a bit of a blessing too.
Image and video quality
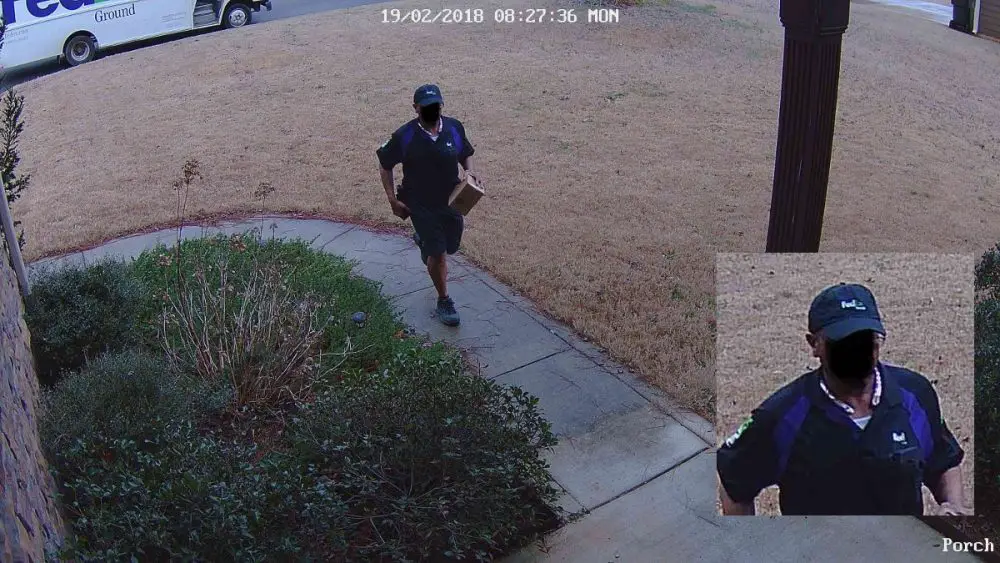
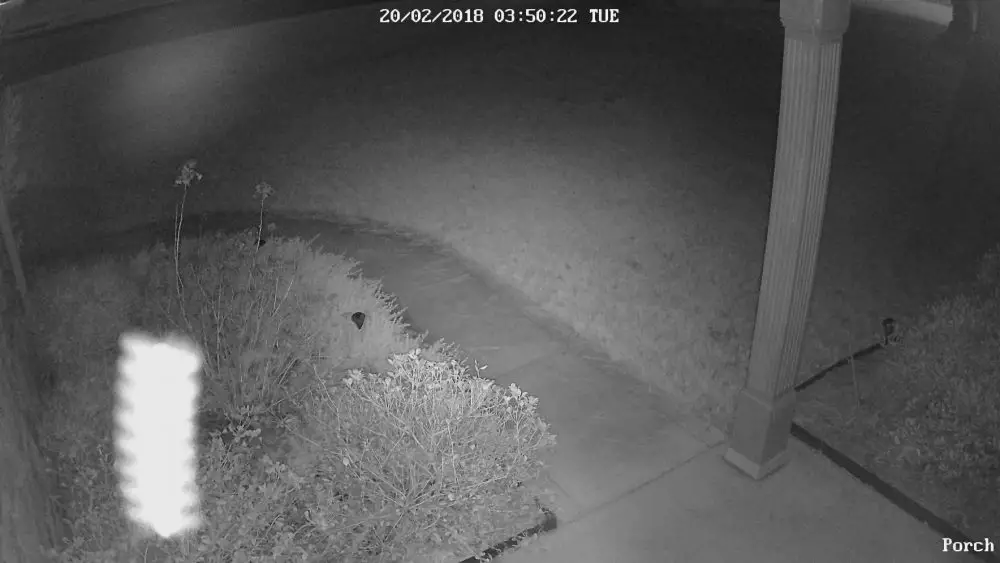
While the resolution of a sensor is one guage of quality, it doesn’t tell the whole story. So, here are some images from the camera so that you can judge for yourself.
First, here’s a picture of the Fedex guy. I’ve edited his face since I don’t have his permission to post this. This is the picture that I get in my email, which is 3072*1728. As you can see if you zoom in on the face and logo on his shirt, the image reflects the H.264 compression but is pretty good given the field of view. And remember, I could use the optical zoom to get even closer if I was willing to loose some coverage.
And of course like any camera, you occasionally have to deal with the night marauders like moths and such that are attracted to the IR LEDs.
The Final Verdict on the Reolink RLC-422 Review
As I said at the top, I’ve been pleased with the performance and configurability of the Reolink wireless outdoor camera so far. The app shows more polish than I expected from a company based in China, with menus and label names that intuitively reflect the function and make navigating and making changes easy.
While I didn’t have a need to return the camera or work with customer support extensively (in the office M-F during Hong Kong working hours only), those that do may find the support hours or shipping returns back overseas a hassle.
That being said, the high resolution, local storage, and no monthly fees are all big wins in my book, making Reolink a serious threat to companies like Nest and Netgear that insist on cloud-only offerings and charging monthly taxes for the privilege of using their cameras.
Appreciate this honest review? Share it with someone else!

Hi, I’m Jody. I graduated with honors with a Masters of Science in Computer Engineering and have over 15 years of experience working as an engineer with electronics products. I’m a lifelong learner and tinkerer and enjoy automating things around the house so I can solve bigger problems than getting out of bed to check if the garage door is closed . . . like too little sleep!

Is the power connection via a two-wire cable? My home has a prewired security wiring (just the prewiring ) and I would like to locate a camera or two in a location where those wires are located if I could use them to carry the power.
At this price, is there any less expensive indoor-only alternative that doesn’t want a monthly fee?
Thank you for your reviews!
PS _ I hate monthly fees as well and will not buy anything that has them other than cell service.
I believe the power is an 1/8″ style jack from the transformer that plugs into the outlet. I would have to measure the post on the jack to be certain. I suppose you could cut the wire from the transformer and splice your wiring in place if you don’t have access to run the power. You would just have to be mindful of the size of the wire and the amount of voltage drop over a long run.
Reolink does offer other indoor alternatives in the sub-$100 range. Or, check out the Netatmo Welcome or Blink cameras.