Planning to install a smart thermostat before the cold months arrive? First, you need to determine if your current HVAC system can support the device.
Most smart thermostats in the market today require a C-wire to function properly. C-wires help ensure that your smart thermostat receives a continuous flow of power to work consistently. Old school thermostats, on the other hand, do not require a c-wire.
Whether you are planning to upgrade your old thermostat or just decided to purchase a modern thermostat for your new home, then in most cases, you’ll probably need a c-wire. But what if you don’t have one? How do you install a c-wire at home? And can you purchase smart thermostats that do not need a c-wire? Let’s find out!
What is a C-Wire on Thermostat?
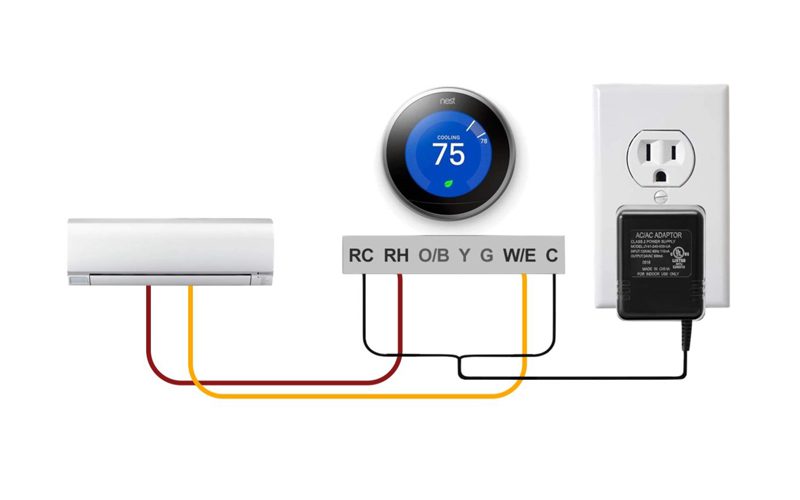
Contrary to what many people might think, a c-wire doesn’t provide power to your smart thermostat. Instead, it simply provides a return path to your wi-fi thermostat so that it can be continuously powered without causing interference to the switching functions of your HVAC.
The c-wire, otherwise known as the “common” wire, sometimes comes in separate wires, requiring separate connections. The wires are labeled as Rc for cooling and Rh for heating. To create a closed circuit for the power to flow, these wires need to be connected back to the HVAC control board. This is actually where the 24V power is coming to power some of the popular thermostats like Nest, Hive, Honeywell, and Ecobee. Note that there are also c-wires that will only use a single wire for the cooling and heating. You should see them labeled as Rh/c.
So what does a c-wire look like? C-wires do not necessarily have a particular color standard or label, although some companies do follow some best practices. For example, these are the commonly used colors for the thermostat wiring:
- White - used to connect to the heating system
- Yellow - used to connect to the compressor
- Green - used to connect to the fan of the air handler or furnace
- Orange - used to connect to the heat pump
- Red - used to provide power, often labeled as Rh and/or Rc
- Blue - used as a common wire
How to Find the C-Wire on a Thermostat?
The first thing you need to do before messing with any of your wirings is to shut the breaker off. This will protect your devices from any damage in case you accidentally pulled any wirings.
The next step is to check the thermostat itself. Remove the cover so you can easily check the wiring terminals. Note that some thermostats might have their wirings located on the back. In this case, you need to pop the device off the back plate to expose the wirings on the rear side.
Once you get access to the wiring terminal, you will probably see a few colored wires connected to labeled terminals. You might need to check first if you have a line voltage system. In this case, you should see two or four thick wires (assigned as red and black) attached to wire nuts. This means your best option would be to use a line voltage smart thermostat.
If you have a low-voltage thermostat, then you should be able to see a wire connected to a C-terminal on the thermostat. Keep in mind that there is no standard color for the c-wiring (although most companies would use blue).
Another thing to remember is that you might not always see a wire connected to a C-terminal of the device. In this case, it is possible that the c-wire might be tucked into the wall together with the other wirings. Sometimes, installers do not connect the c-wire from the control board, so make sure to remove the backplate of your thermostat so you can check for the extra wire.
You can also check if there is an unused wire connected to the HVAC control board. If so, then you can use the other end of the wire to connect to the C-terminal.
Remember that if you do not see the spare wire, you probably do not have a c-wire. Otherwise, if you see a wire connected to the control board, then check the wiring on your thermostat again. If both have a matching color, then this is your c-wire.
What to Do If You Don’t Have C-Wire
So you might be wondering why c-wire is required in most smart thermostats. Or is it really necessary?
If you think you do not have a c-wire, then it is not the end of the world! There are other options to fix this issue so you can run a smart thermostat at home. Here are some of the ways to resolve it:
Purchase A C-Wire Adapter
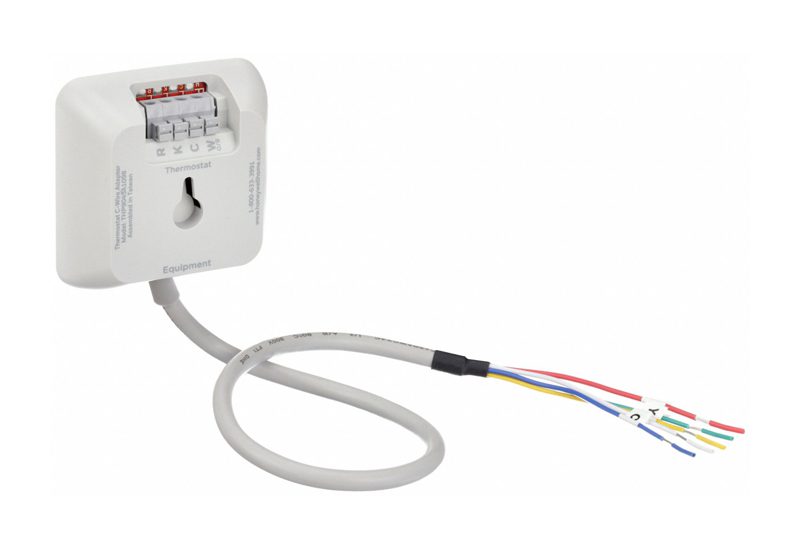
Adding a c-wire adapter or conversion kit is probably the easiest solution if you do not have a c-wire. It works by using the existing wires you have to provide constant power to your smart thermostat. The adapter works safely for your devices since it does not use a power-stealing method.
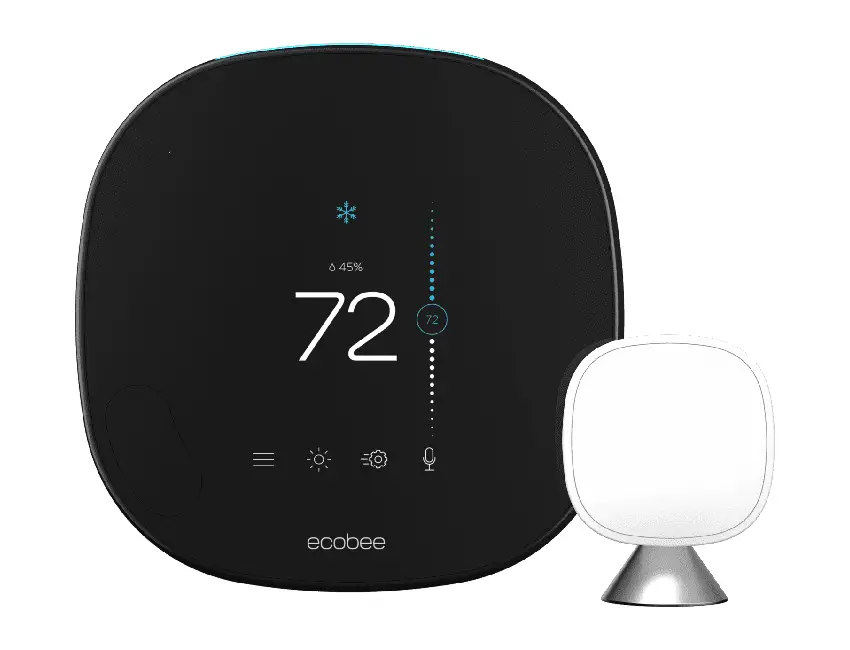
You may purchase a c-wire adapter separately, or get a smart thermostat that comes with a c-wire conversion kit. If you do choose the latter, we highly recommend the Ecobee thermostat since it already comes with a power extender kit or PEK which is equivalent to a c-wire adapter.
If you have a screwdriver and know how to read a wiring diagram, then you should be able to install the adapter on your HVAC control board without any issues. Just remember to shut off your power before messing up with the wires! Although a 24-volt power source won’t be too dangerous for you, it can still damage your board if you are not careful.
If you are in doubt, then it is best to contact a professional to do the job.
Use A 24VAC Transformer
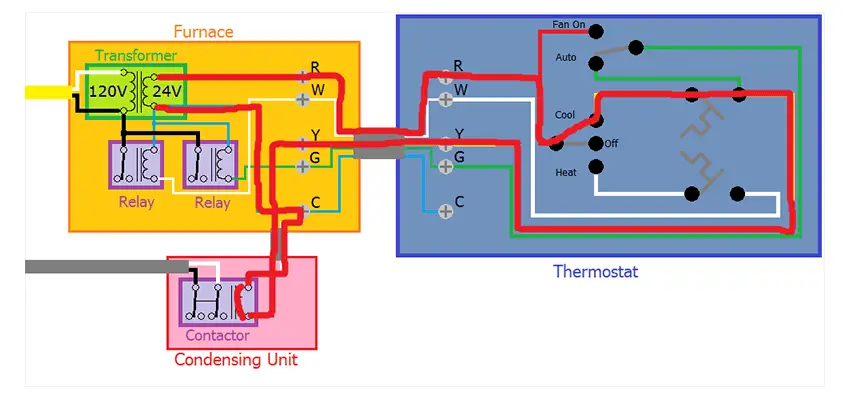
If you don’t mind having a wire running from your thermostat to an electrical outlet, then using a 24-V transformer should do the job just fine. It usually comes with two wires to connect to a regular outlet and your smart thermostat.
Although you can use any 24V transformer, we highly recommend choosing one designed for smart thermostats. Often, these transformers come with two wires stripped at the end so you can easily connect your thermostat. And in case you don’t have an electrical outlet near the thermostat, they also come with extra long wires that you can wire to your thermostat to the next nearest power source.
C-Wire Installation
Installing another wire might be the most robust solution; however, this would also mean rerouting a few wires through your walls without causing a lot of damage. This can be very difficult and costly for many homeowners. If your control board is too far away from your thermostat location, then the additional wire installation can be more challenging.
If you don’t consider yourself a handy person, then don’t consider this option unless you’re hiring out.
Choose Thermostats That Do Not Need C-Wire
If you don’t like the inconvenience of installing new wires or using adapters, then purchasing a smart thermostat without a c-wire might just be the best solution for you.
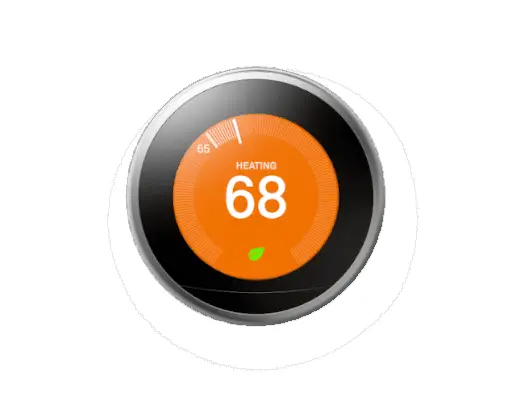
Thermostats like Nest can actually do their job without the need of a c-wire through the method known as power stealing. Here, the existing electronics of the device are meant to act like a switch. It works as a threshold current - if the current is above a certain threshold, it acts like an “on” switch, otherwise, it is on the “off” state. That small current that runs through the circuit without switching the “on” state is used to power your thermostat device.
The only problem with the power stealing method is that it is not the most efficient and safe solution for your devices, especially since most HVAC systems are not designed for power stealing.
If you steal too much power, it will keep your device “on” even if you don’t need it to. If you steal too little power, there is a chance that your battery goes down and your thermostat shuts off. Hence, power stealing is not the most reliable way to power your devices.
The switching process can also damage rechargeable batteries over time, losing about 20% of their charging capacity each year. In other words, you’ll be replacing hardware when those batteries wear out.
So make sure to consider these factors before making a choice!
How to Install C-Wire on Thermostat
Installing a c-wire thermostat is a fairly easy process. All you need is a screwdriver, a thermostat, and about 30 minutes of your time. Here’s how:
- Turn off your power source. Make sure that the circuit breaker is in the OFF position.
- Label the wires coming out from the wall that was used to connect to your old thermostat. Later, you will need to match these wires to your new c-wire thermostat. As mentioned previously, some thermostats are color-coded which can really make your life super easy. However, there is no standard for this, so it is better to label the wires with some stickers to avoid interchanging them.
- Carefully unscrew your old thermostat from the wall.
- Mark the position of your new thermostat on the wall (you can use a pencil for this). Make sure to create a trace for the screw holes.
- Attach your new smart thermostat to the wall. Make sure to follow your manufacturer's guide when securing the device.
- Connect the label wires to the corresponding ports of your new thermostat. Make sure that everything is correctly placed.
- Once everything is set, you may now turn your power back on.
- Follow your manufacturer’s instructions on how to connect your thermostat to the wi-fi network.
- Download the designated app of your device and go to the settings. Here, you can start updating the firmware, set up your desired home temperature, etc. You can also start connecting your thermostat with other smart home devices.
Best Thermostats With a C-Wire
Ecobee Smart Thermostat
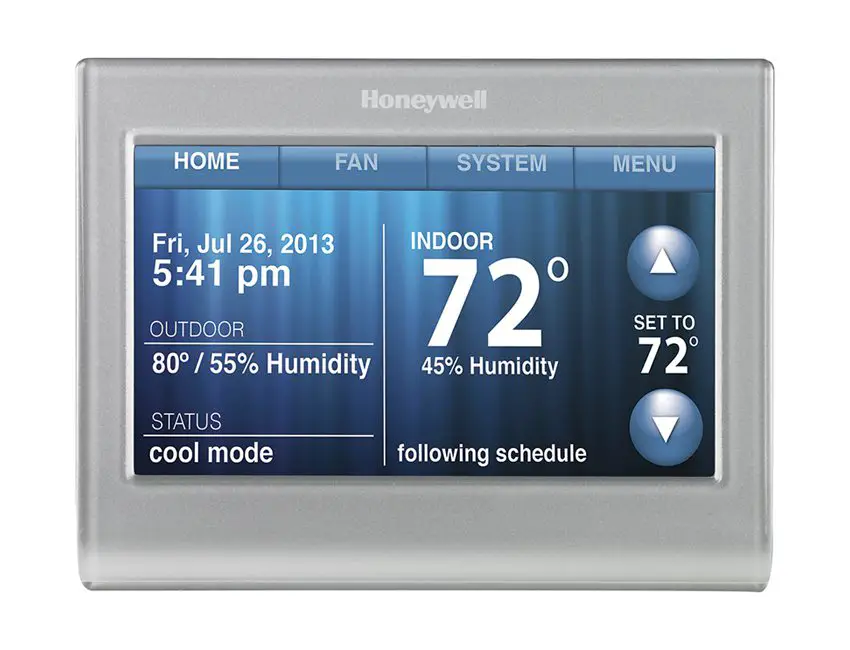
Honeywell Wi-Fi Thermostat
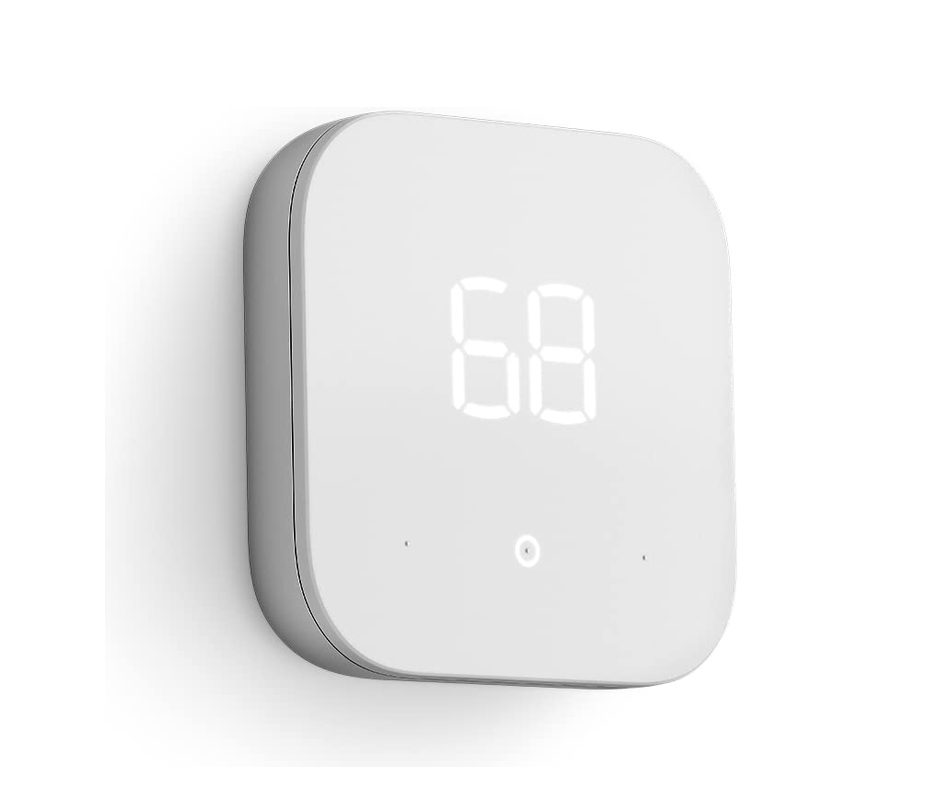
Amazon Smart Thermostat
Best Thermostats Without a C-Wire
Google Nest Learning Thermostat
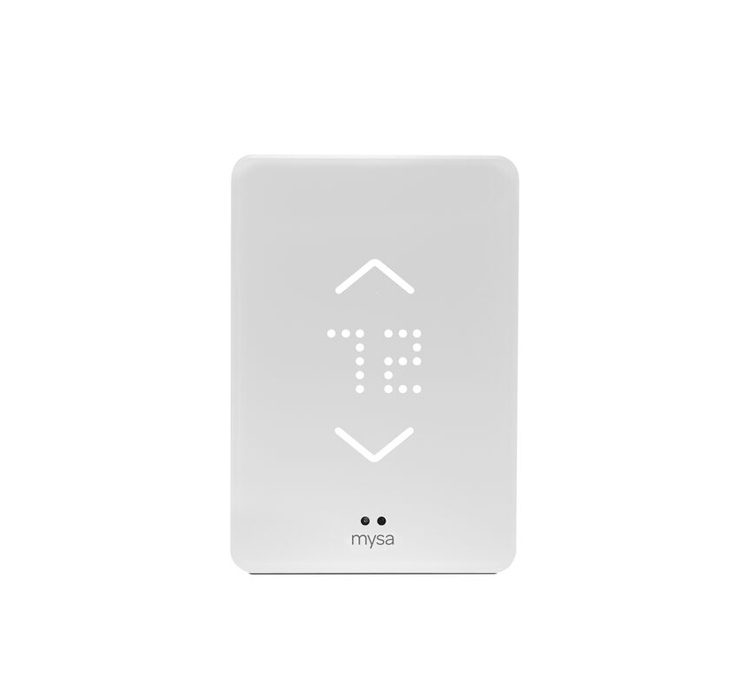
Mysa Smart Thermostat
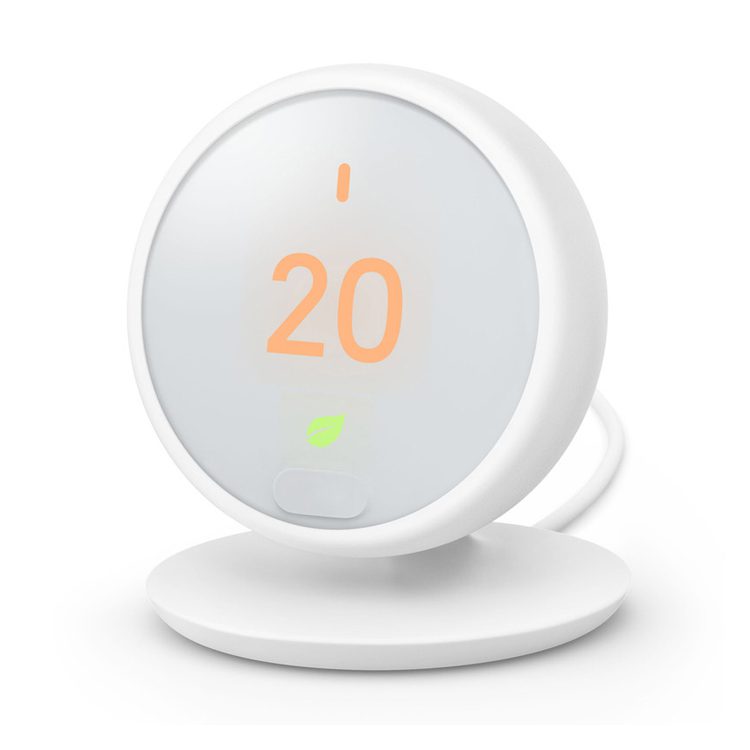
Nest Thermostat E
Wrapping It Up
Hi, I’m Christy, and I’m an electronics engineer by profession. I have taught in a university for 2 years while pursuing my master’s degree in cognitive radio and worked for a company to develop wireless medical devices. Currently, I’m doing research for a doctorate degree in engineering using a wireless sensor network for smart agriculture. I’ve been active in our local IoT community, IoT Cebu, where I participate in conducting talks about Arduino, Raspberry Pi, and DIY home automation using Wi-Fi and ZigBee devices.