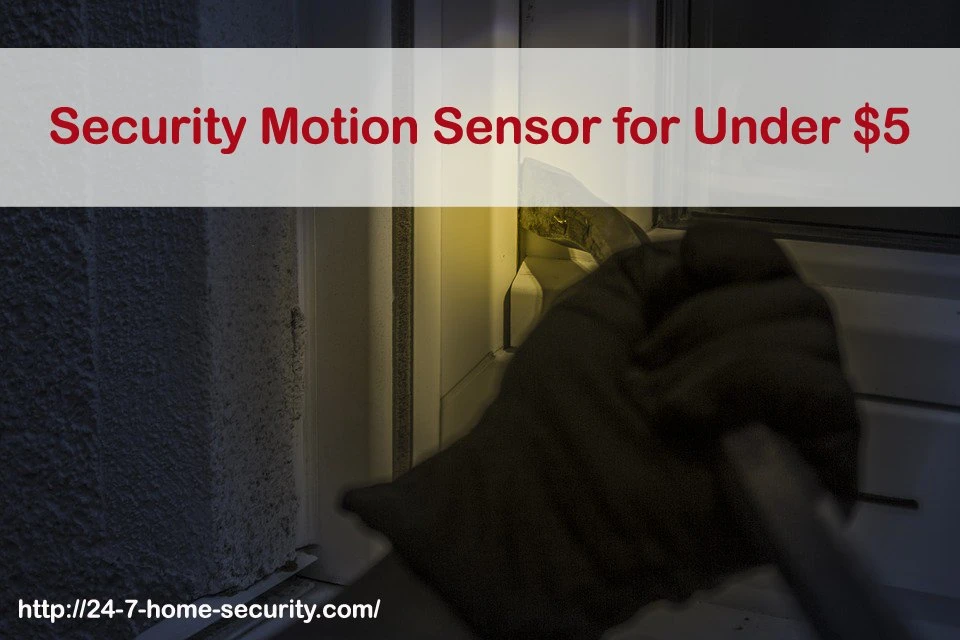
Have you always wanted a security system in your home or office to keep out burglars? Are you on a tight budget and can’t afford the commercial offerings at $30+ each?
Don’t worry! With a bit of hardwork, you can build a similar yet more flexible system at a lower cost. Wondering how?
Allow me to introduce (or at least re-introduce) the ESP8266 Wi-Fi module. It’s a microcontroller that can accept inputs and process outputs. Plus, it’s capable of exchanging data over the internet in a compact package. We will be using the ESP8266 to process triggers from a motion sensor and give you live updates via your social media.
Why Wi-Fi? Good question. So you don’t need to spend on smart hubs with different protocols like Z-Wave, Insteon, ZigBee, etc. You can just utilize your existing Wi-Fi network.
If this sounds interesting to you, make sure to follow along with this tutorial.
THE PARTS NEEDED
For this build, we’ll need a few components that will cost a little under 5 bucks. Thanks to China, electronic modules are mass-produced today for dirt cheap.
Here’s your shopping list:
1. NodeMCU ESP8266 Development Board

- Built-in Micro-USB, with flash and reset switches, easy to program
- Arduino compatible, works great with the latest Arduino IDE/Mongoose IoT/Micropython
- Data download access to the website: http://www;nodemcu;com
Make sure to choose the version with the CP2102 chip so you won’t be having problems getting a different voltage level for the motion sensor.
2. HC-SR501 PIR Motion Detector Module
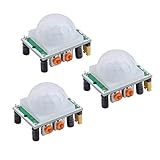
- Operating voltage range: DC 4.5-20V
- Quiescent Current: <50uA Trigger: L can not be repeated trigger/H can be repeated trigger(Default...
- Delay time: 5-200S(adjustable) the range is (0.xx second to tens of second)
3. Active Buzzer
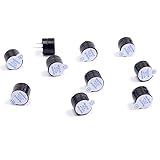
- Complicated process and stable performance
- Current: <25mA
- Input Voltage: 4-8VDC
4. Circuit Board

- ★32 pieces double sided PCB prototype boards well packed in a plastic tray which is very easy to store...
- ★5 different size boards to meet your demands when designing your own Arduino kits, electronic...
- ★4 mounting holes at the corners of the board are very convenient for installing them together.
OR
Breadboard

- 400 point and 830 point breadboards are available to meet your various experimental needs.
- White ABS Plastic Body with Black Printed Legend. Color Legend on Distribution Strips.
- With Self-Adhesive Tape on the Back, Easy to Stick on the Arduino Prototype Shield.
If soldering is not your strong suit.
5. Dupont Wires

- Each cable length: about 20 cm /8-inch
- The cables can be separated to form an assembly containing the number of wires you require for your...
- Including 1X 40-pin male to female jumper wires, 1X 40-pin male to male jumper wires, 1x40-pin female to...
6. Smartphone Charger with Micro-USB Terminal
HOW IT WORKS
The operation of this system is very simple. For every movement that the motion sensor detects, we will sound the buzzer and send a notification to our Twitter account.
GETTING EVERYTHING TO WORK TOGETHER
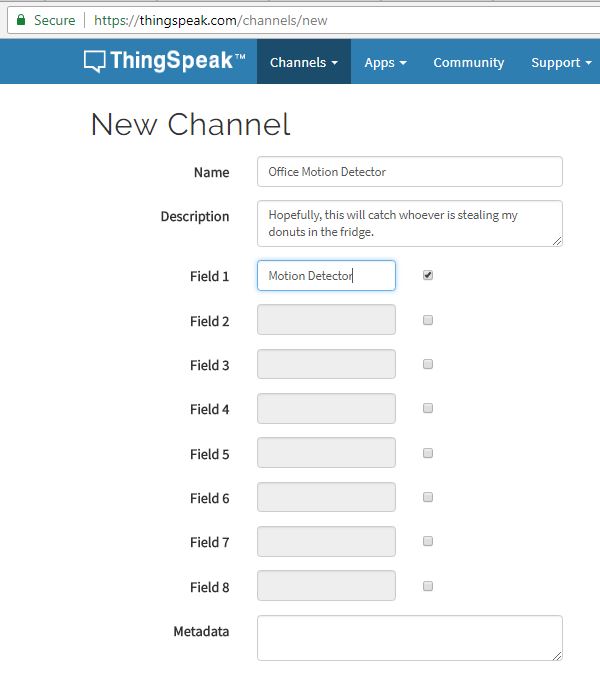
1. You’ll first need to sign up for a ThingSpeak account. It’s an open-source IoT web server that allows you to fetch data from your device and display it on their dashboard. They also have APIs for linking your social media accounts, which is great for real-time alert notifications. Then create a channel that is dedicated only for this security system.
Go to Channels → My Channels → New Channel. After filling out the fields as shown below, leave everything else blank then hit Save Channel.
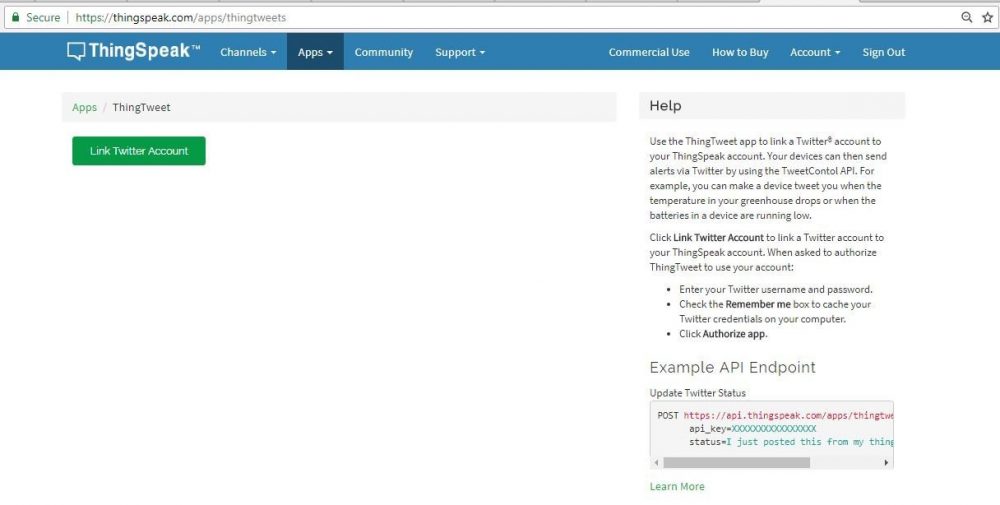
After that, go to Apps → ThingTweet and then link your Twitter account for authorization. Just go through the process and copy the API key generated afterwards. We will be using that in Arduino code later.
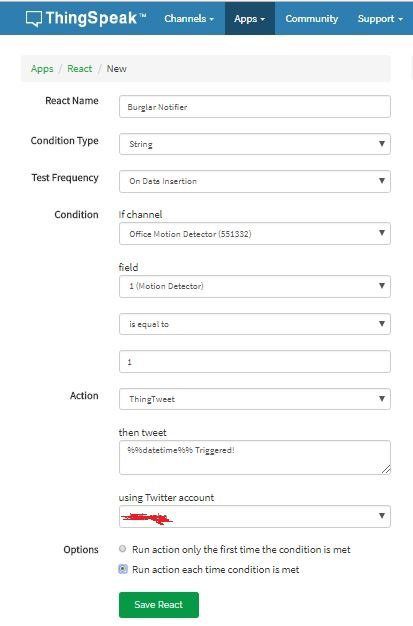
Lastly, we’ll have to create an auto reaction. Go to Apps → React → New React. You can alter the text but don’t remove the timestamp since Twitter doesn’t allow spam tweets.
2. Hook-up everything using wires first as shown in the table below. You may want to solder those down on a circuit board for a more permanent rig.
|
Component |
NodeMCU Board |
|
VCC (motion sensor) |
Vin |
|
OUT (motion sensor) |
D5 |
|
GND (motion sensor) |
GND |
|
D6 |
|
GND |
We will be using the Arduino IDE to program the ESP8266. And just to clarify, this is not a “how-to” tutorial on using the Arduino. If you think you’ll need help, learn how to add the supports for the ESP8266 and ThingSpeak (or go to Sketch → Include Library → Manage Libraries and then type ThingSpeak on the field and add it) on the Arduino environment. Download the code to your local folder.
RESULTS
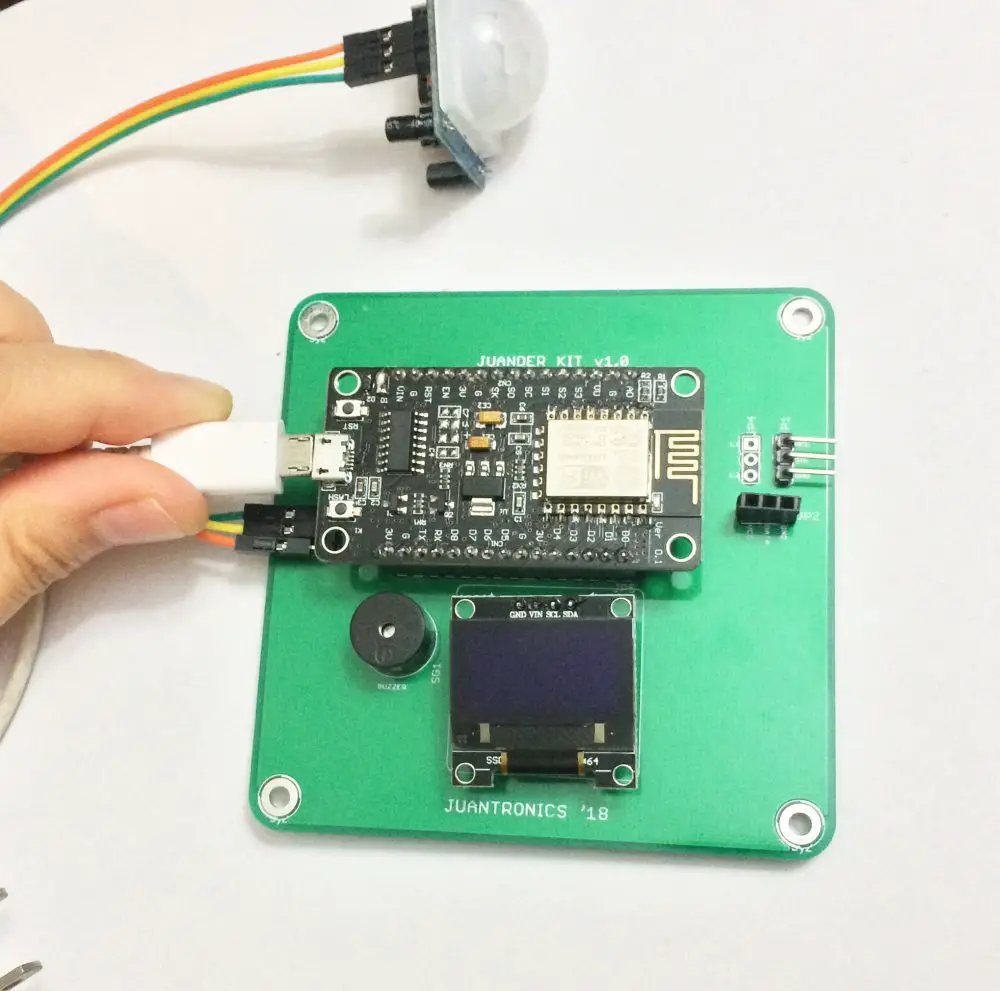
Luckily, I have a board laying around that I could use for this project. For easy debugging, I’ve put an OLED to visually see if the sensor really detects movement.
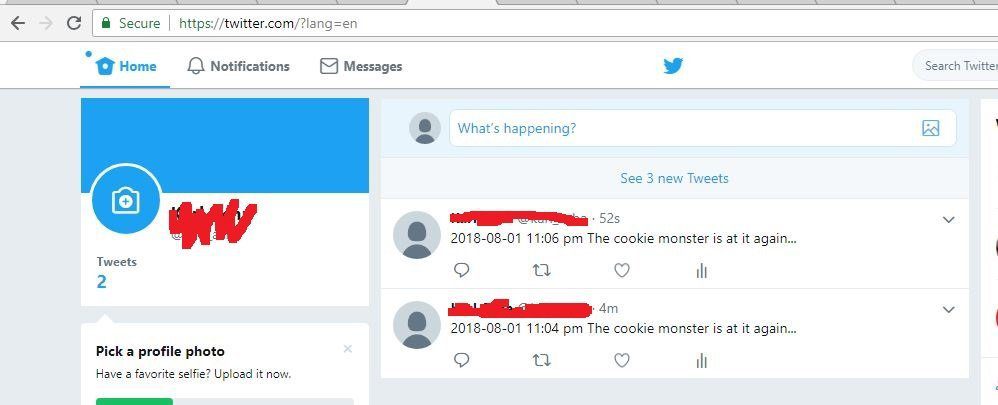
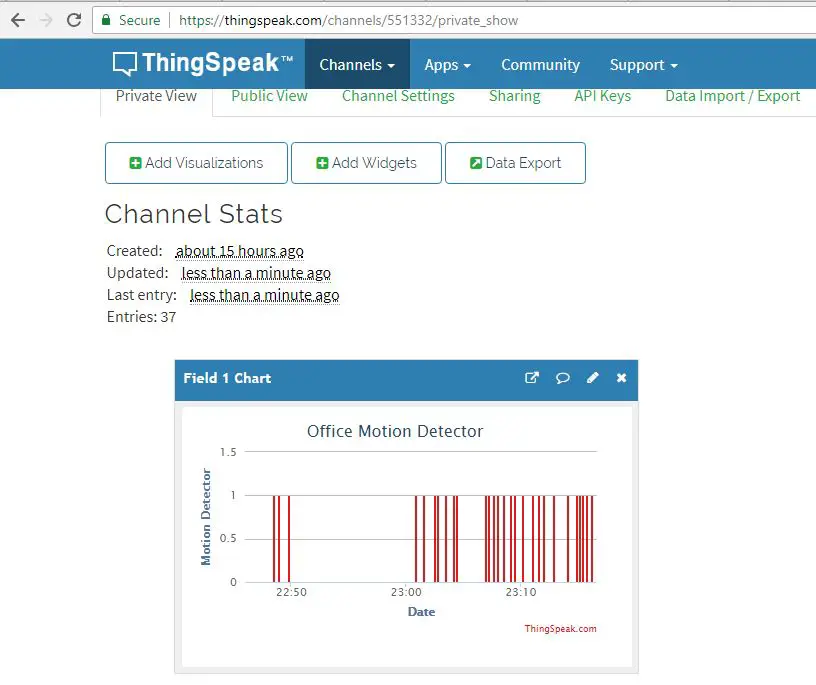
After waving my hand in front of the sensor, I instantly got notifications on my Twitter account and ThingSpeak dashboard.
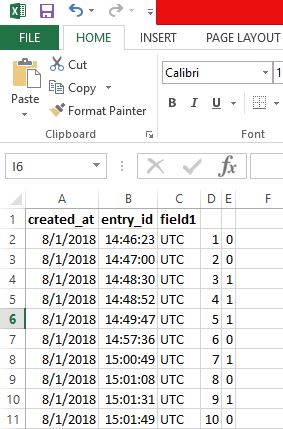
You could also download a report in a text file. Who knows, you might need it for evidence!
CONCLUSION
You might not get video evidence of your co-worker raiding your treats, but at least these alerts will help you narrow in on the thief! For future upgrades,you could add a cheap webcam that would take pictures or even recorded video triggered by the motion sensor. Overall, it’s a fun and low-cost solution to your home security, and you can learn something about programming your own IoT too!
Interested in other affordable home security solutions? Check out this article of DIY home security tips that cost less than $20.
Hi, I’m Christy, and I’m an electronics engineer by profession. I have taught in a university for 2 years while pursuing my master’s degree in cognitive radio and worked for a company to develop wireless medical devices. Currently, I’m doing research for a doctorate degree in engineering using a wireless sensor network for smart agriculture. I’ve been active in our local IoT community, IoT Cebu, where I participate in conducting talks about Arduino, Raspberry Pi, and DIY home automation using Wi-Fi and ZigBee devices.
Last update on 2025-06-03 / Affiliate links / Images from Amazon Product Advertising API