Want to automate a lamp or small appliance and don’t like the look of a big plug sticking out of your wall?
An in-wall switch requires some extra effort for installation, but maintains the look of your other outlets with some added smarts.
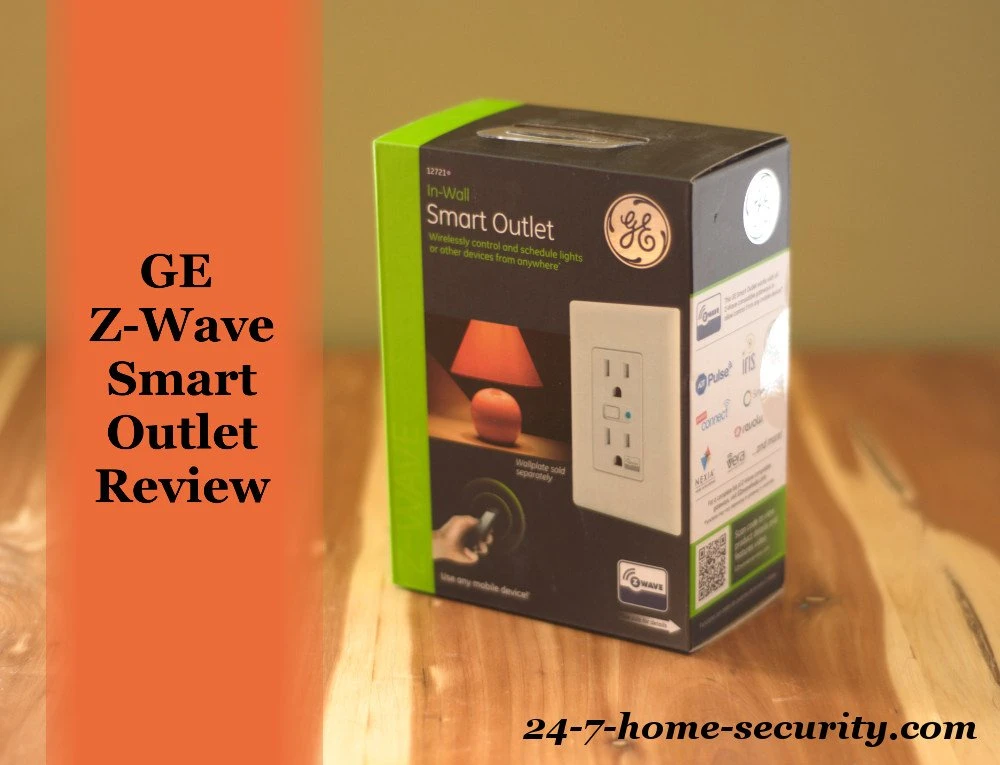
We’ll go through the GE In-wall Smart Outlet in detail to give you an idea of what you’ll get.
Bottom Line
Price: $37.50
Rating:
4/5
Reviewed by: Jody on
What does a smart Z-wave outlet do?
Generally, you can use smart outlets to turn lamps on and off or to control small fans, heaters, or pumps.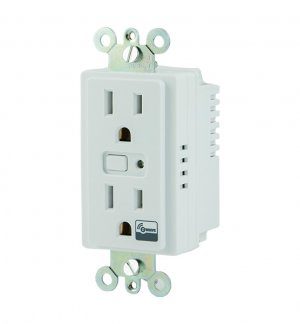
If you’re wondering why, we’ve put together a ranked list of the best home automation ideas and even featured a video in a recent roundup post about a couple that used a smart outlet to water plants in their greenhouse.
In the case of the GE in-wall smart outlet (goes to Amazon), you get to control one of the outlets via Z-Wave and the other is always on like a standard outlet.
GE Smart Outlet Installation
The GE outlet is about the size of a GFCI outlet, slightly deeper than a standard outlet without the Z-wave radio, but not too large to fit into a standard size electrical box.
[x_alert heading=”Head’s Up” type=”warning”]Most smart outlets require a neutral wire. Be sure to check for one if you have an older home.[/x_alert]For the installation, you’ll need:
- a flat (possibly phillips) screw driver to remove the old outlet
- wiring nuts (included) to connect the new outlet
- a square outlet cover (GE doesn’t include one, some manufacturers do)
- pliers (possibly) to trim wires to reasonable lengths
If you’ve done any electrical work on a house before, you shouldn’t need much help. But just in case:
How to install your new Z-wave outlet:
- Cut off power to the outlet at the breaker/fuse box
- Test the outlet to make sure you got the right circuit
- Remove the screws for the outlet cover and then the outlet
- Disconnect the wires from the existing outlet
- Connect the GE smart outlet per the directions (black to hot, white to neutral, and green to the bare ground wire), usually you can just match up colors unless you have a non-standard installation
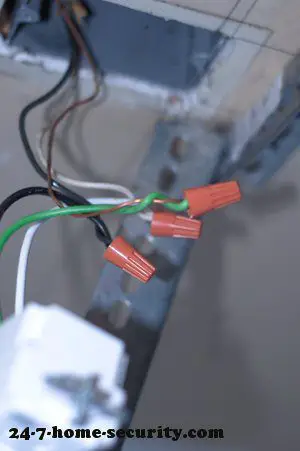
- Attach the new outlet cover
- Follow the directions for your Z-Wave hub to enroll a new Z-Wave device
- Once the hub’s looking for the device, turn the breaker (you can also use the Program button on the front of the outlet
It’s as easy as that. Now, you’re ready to associate the device to any rooms or scenes and set up the control of the outlet. For me, that meant hooking it up to a relay to open our garage door.
What does the GE Z-Wave Outlet cost?
The GE is competitively priced at $38. Generally, you may be able to find a Linear (Nortek) outlet for $35, but most of the outlets out there are closer to $40. So, the GE is certainly in the hunt on price.
How does it compare to other Z-Wave outlets?
There are all kinds of outlets out there, but most offer the same features. The biggest differences are changes to a plug configuration (to avoid wiring changes during installation) and home automation protocol. Most of the Z-wave outlets are priced competitively. Where you will see some slight differences is in the reliability of the network links. Be sure to read some reviews on Amazon to get the skinny. The GE was reviewed well, and we’ve had 0 problems in the 6+ weeks we’ve been using it.
Want to see the competition?
Whether you want to compare prices, look for other protocols, or something easier to install, our comparison of smart outlets would be a good place to start.
Compare Outlets!The Bottom Line
The GE smart outlet has been a solid performer ever since putting it in. We can recommend it without any reservations.
The only thing to note is that it does have a blue LED on the front to show it’s status, so you may not want it lighting up your bedroom at night if you prefer a really dark environment. But with the right hub, there’s a setting so that you can change the behavior of the LED.
Now, you can go check out what you can automate with it.
Like what you see? Spread the word!
Head’s up: This article uses a few Amazon affiliate links. We get a small commission on any sales that helps us get stuff to review and pay for servers. It doesn’t change your cost at all, but if you like, you can search for the product at your online store of choice instead.

Hi, I’m Jody. I graduated with honors with a Masters of Science in Computer Engineering and have over 15 years of experience working as an engineer with electronics products. I’m a lifelong learner and tinkerer and enjoy automating things around the house so I can solve bigger problems than getting out of bed to check if the garage door is closed . . . like too little sleep!