Where to install your smart fan controller?
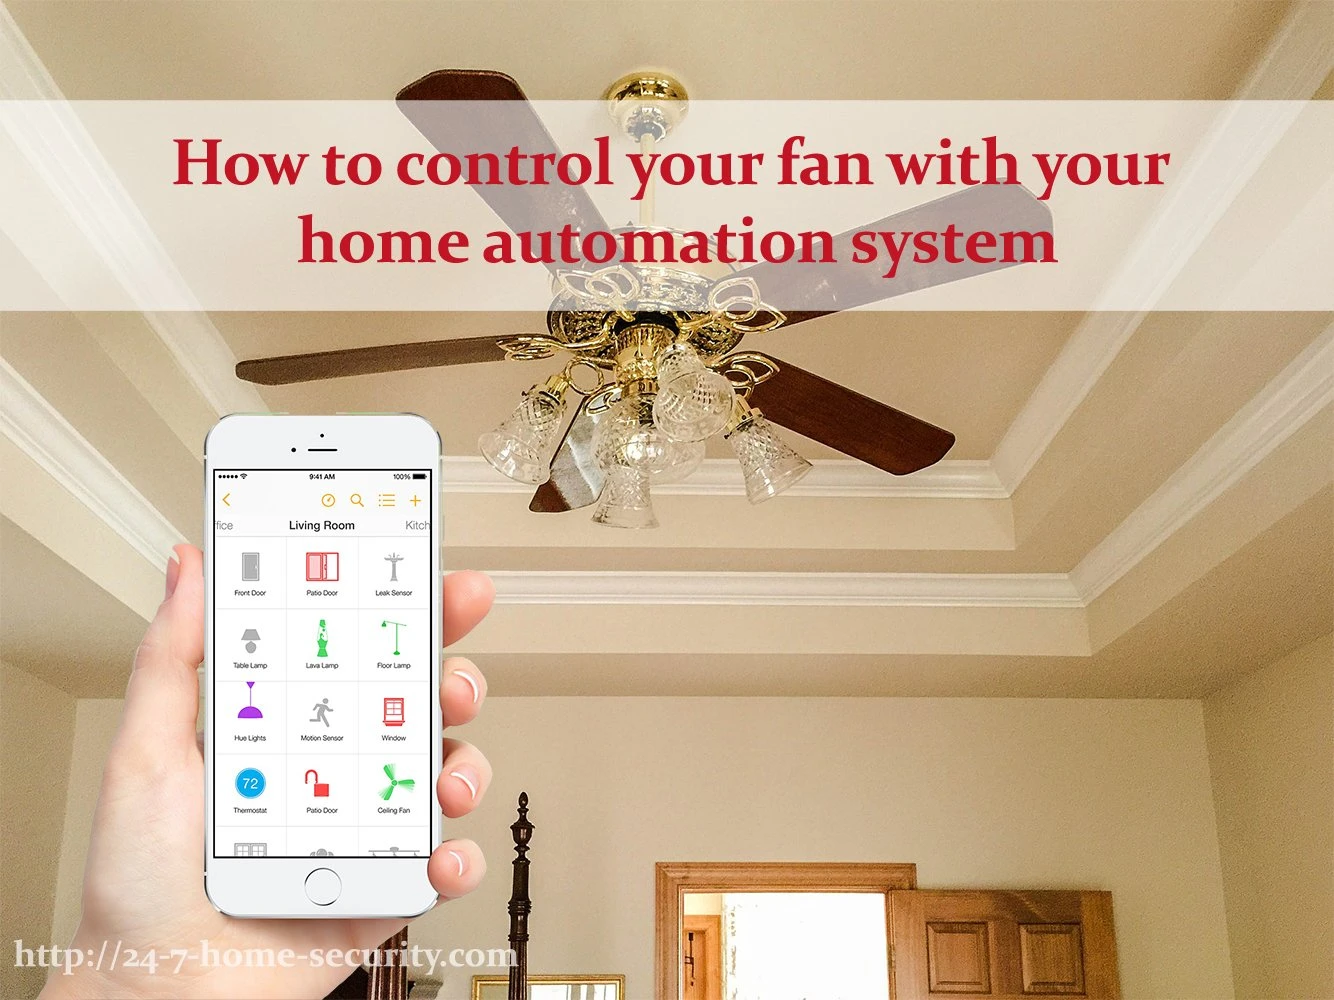
Thinking of controlling your ceiling fan via your smartphone? Cool… If you already have a separate switch controlling your fan and light, that will be simple. But what if they’re only one switch, and you want to control the fan by itself? I’ll walk you through the process for installing a switch at the fan to do just that.
Say you’ve already gotten the easy wins by installing smart switches for your lights and garage door. But there is this old, manual fan that you can’t include in your home automation app and you’re itching to do something about it. What are you going to do? Fortunately there are smart controllers for so-called offline devices like the GE 12730 Smart Fan Controller. It’s designed to fit into existing wall boxes where your current switch is but can also be installed above the fan (some even put them into fan shrouds which I would guess is against the electrical code).
Since the fan draws more current than a typical light bulb, not all smart switches can handle the current requirements of the electrical motor. So, it’s important to make sure the switch that you buy will handle the maximum current load from your particular fan. Nobody wants to burn down their house, right?
Why do you need a smart “fan” controller?
Since the fan draws more current than a typical light bulb, not all smart switches can handle the current requirements of the electrical motor. So, it’s important to make sure the switch that you buy will handle the maximum current load from your particular fan. Nobody wants to burn down their house, right?
Why would you install the switch above the fan instead of at the wall?
So, why not just put a new switch in with your current switch?
If you have two switches (one for the light and another for the fan), then you should.
If you don’t, you’ll have to run additional wire from your fan to your switch box to control the fan separately, plus you have to find room in the existing single gang (1 switch wide) electrical box for a new switch for the fan. That’s not a simple task to refinish the wall after that project!
So instead, you can just install the fan switch above the fan. Of course, the down side is that you won’t have a manual switch on the wall, but you can always install a Fibaro swipe to replace your current switch that will take multiple different gestures to control the lights and fan with one switch or simply use a smart switch with multiple inputs that can trigger the fan switch in the ceiling.
How to Install Your Smart Fan Controller
If you think that solution may work for you, keep reading, and I’ll walk you through the retrofitting process.
Warning: If you are not an electrician or have no experience in working with electrical systems, let a certified professional do it for you instead. Don’t risk harming yourself or even burning your house down due to faulty connections.
Here are the steps:
- Make sure to read the instruction manual of the device first and familiarize yourself with the installation process. It will save you time and money if you are not really sure on how to wire it up.
- As with any task involving electricity, safety is our utmost priority. Remove power from the whole system by shutting down the circuit breaker or the fuse box before touching any wires. It is very advisable that you wear gloves while working for added protection. Plus, always test to make sure you turned off the right circuit before working on anything.
- Determine where you’ll install the switch.
- The best option if to comply with the NEC and install an electrical box in the ceiling above your fan. If you have attic above your ceiling, that will be simple. If not, you may be stuck doing drywall work.
- I’ve seen some install the switch in the fan shroud. To do that, locate the screws or clips that hold the top cover or housing of the ceiling fan and then carefully remove it without disconnecting any wires in the process.
- Count how many wires there are. If you see only two, that means the power is coming from the wall switch and you’ll have to run new hot line from the fuse box.
- At this point, you might want to put a tape on each wire and label the hot or line, neutral, and ground since you can’t rely on colors to tell their functions. It’s a good practice and won’t hurt the functionality anyways. Even pros do this.
- Now, disconnect all wires and hook up the GE 12730 smart fan controller in the following arrangement:
- Hot or line wire goes into the Line terminal
- Load wire (from the fan) goes into the Load terminal
- Neutral wires (from the fuse box and the fan bundled together) goes into the Neutral terminal
- Ground wire (if there is any) goes into the Ground terminal
- Once all wires are screwed into place, you can now safely insert the smart switch inside the housing, making sure not to pinch or dislodge the wires. Double check your work for the last time and put the top cover back on.
Common Problems Upgrading Your Existing Fan
Installing a smart fan controller into a ceiling fan may not work for everyone though. Some people say the metal plate of the GE 12730 is too big to fit inside the fan housing and is too hard to bend too. Others were also asking if they could use a dimmer switch to control the fan speed, which is totally ridiculous since a fan (internally an induction motor) changes speed by changing its winding arrangement via a rotary knob or button while a dimmer chops a portion of power delivered to the light bulb to “dim” it.
Thinking about trying a smart fan controller installation? Let us know how it goes and how we can improve this article for the next guy.
Hi, I’m Christy, and I’m an electronics engineer by profession. I have taught in a university for 2 years while pursuing my master’s degree in cognitive radio and worked for a company to develop wireless medical devices. Currently, I’m doing research for a doctorate degree in engineering using a wireless sensor network for smart agriculture. I’ve been active in our local IoT community, IoT Cebu, where I participate in conducting talks about Arduino, Raspberry Pi, and DIY home automation using Wi-Fi and ZigBee devices.